ClaimCreator
ServerCore has many advanced claim types and reset regions funcionality. All those areas can be created with consolecommands. For ease of use ServerCore has a built in claim creator. With this Web UI its very easy to create advanced claims or mark regions for reset. Just draw the area and click your way through creating claims.
To access the Claim Creator Web UI just add one to the port you are using to access allocs webmap.
So if you are using http://serverip:8082 to access allocs webmap, you add 1 to that port and thus access ClaimCreator with http://serverip:8083
Using ClaimCreator
Section titled “Using ClaimCreator”For using the webui you must login via Steam so ServerCore can determine what permissions you have on the map. Default permission level for all is admin level 0.
If you want to change the default permissions for ClaimCreator create claims, view online players, view landclaims, view advClaims and (quest) POI’s, you can do so in ClaimCreator_permissions.xml. That file is in your Saves folder.
<?xml version="1.0" encoding="UTF-8"?><PrismaCore_permissions> <permissions> <permission module="PrismaCore.map" permission_level="0" /> <permission module="PrismaCore.createadvclaims" permission_level="0" /> <permission module="PrismaCore.getlandclaims" permission_level="0" /> <permission module="PrismaCore.getadvclaims" permission_level="0" /> <permission module="PrismaCore.getresetregions" permission_level="0" /> <permission module="PrismaCore.getplayerhomes" permission_level="0" /> <permission module="PrismaCore.getplayersonline" permission_level="0" /> <permission module="PrismaCore.getquestpois" permission_level="0" /> <permission module="PrismaCore.getallpois" permission_level="0" /> <permission module="PrismaCore.gettraders" permission_level="0" /> <permission module="PrismaCore.getvehicles" permission_level="0" /> </permissions></PrismaCore_permissions>Creating advanced claims
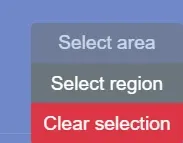
Section titled “Creating advanced claims”Make sure you have selected “Select area” in the bottom right selection area.
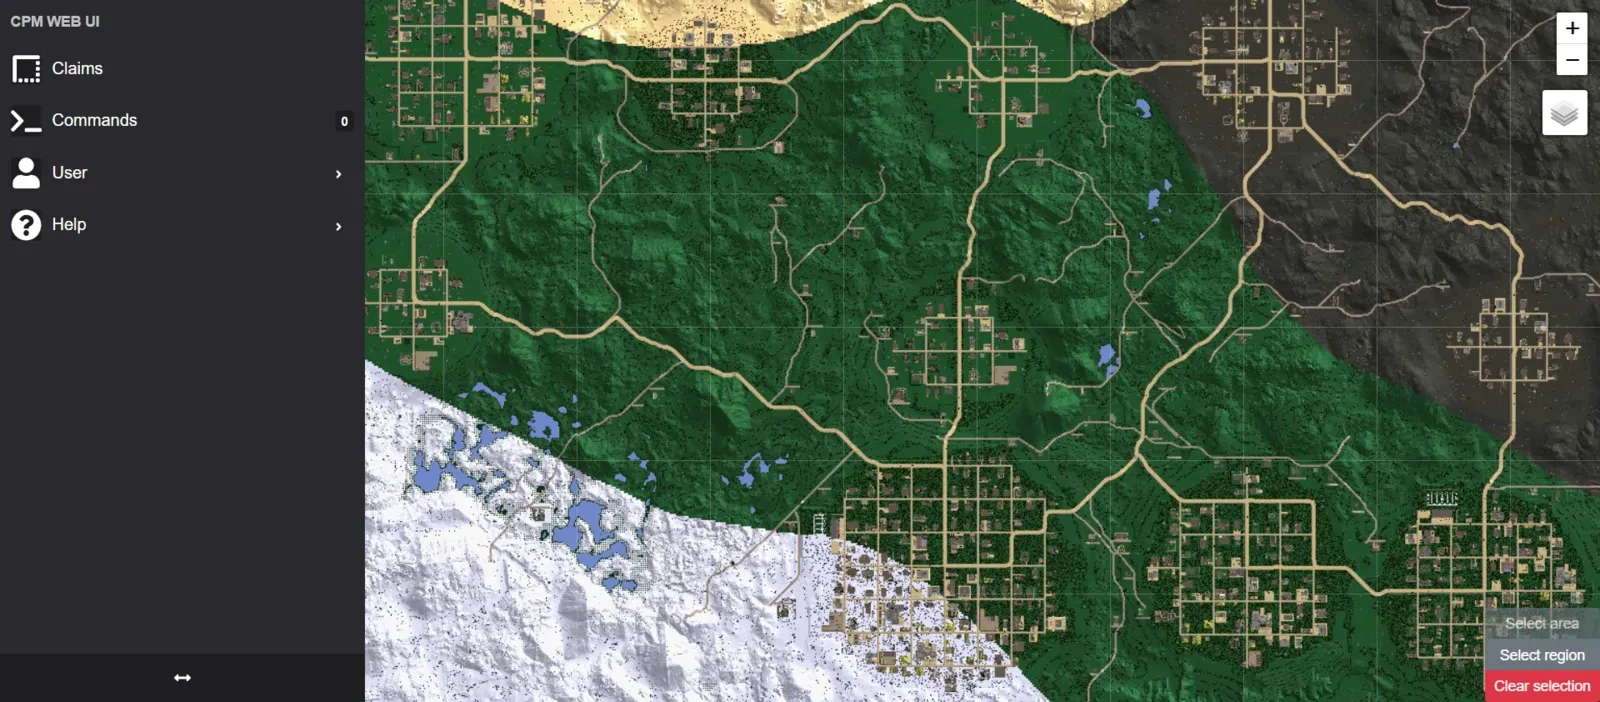
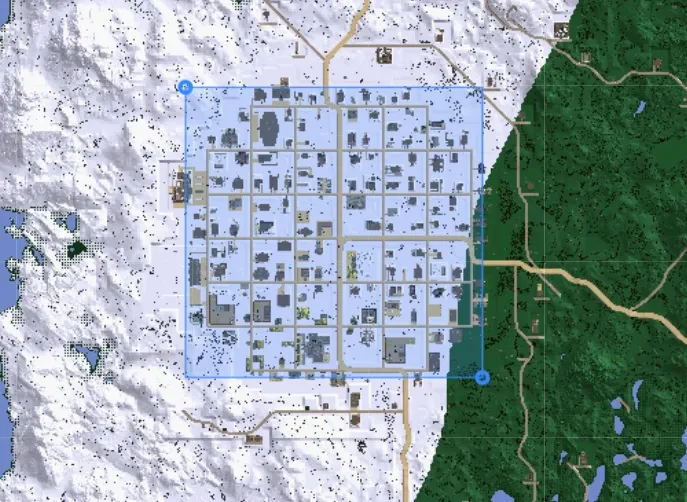
Now it’s as easy as selecting 2 opposing corners of an area you want to mark. The area will automatically be drawn on the map for you to review.
In the following example i will make a hostile free advanced claim on an entire city. The steps are always the same for creating all types of advanced claims:
Draw the desired area:
Now select “Claims” in navigation menu.

This window will show all your defined advanced claims and reset regions and can be managed from here.

We are going to add the selected area on map as a new claim. Click “Create”.
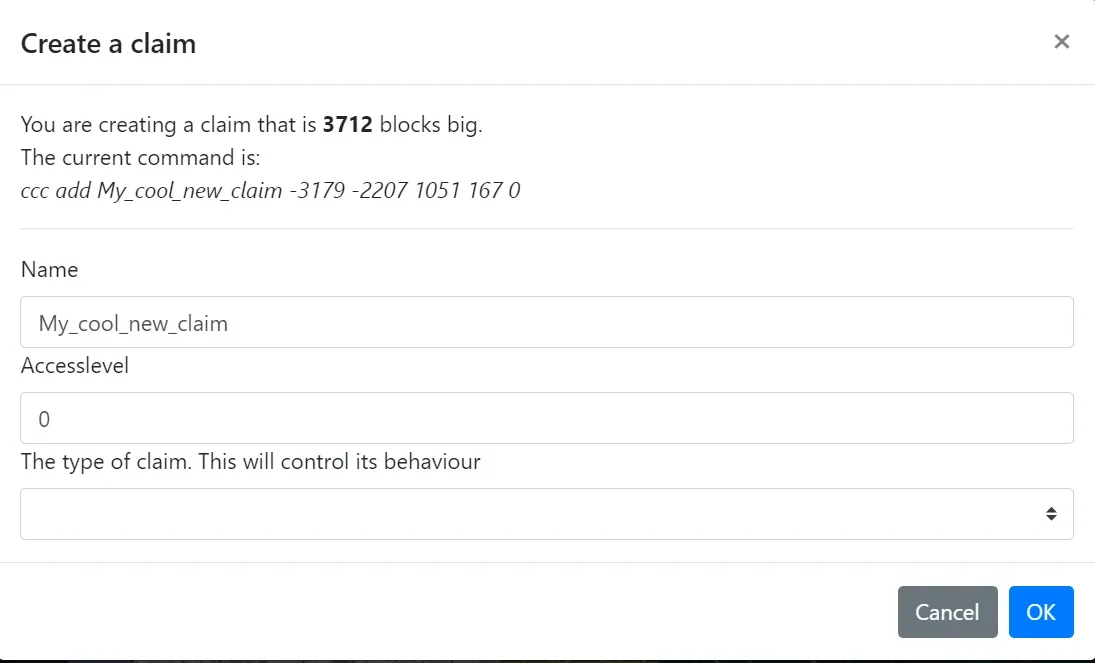
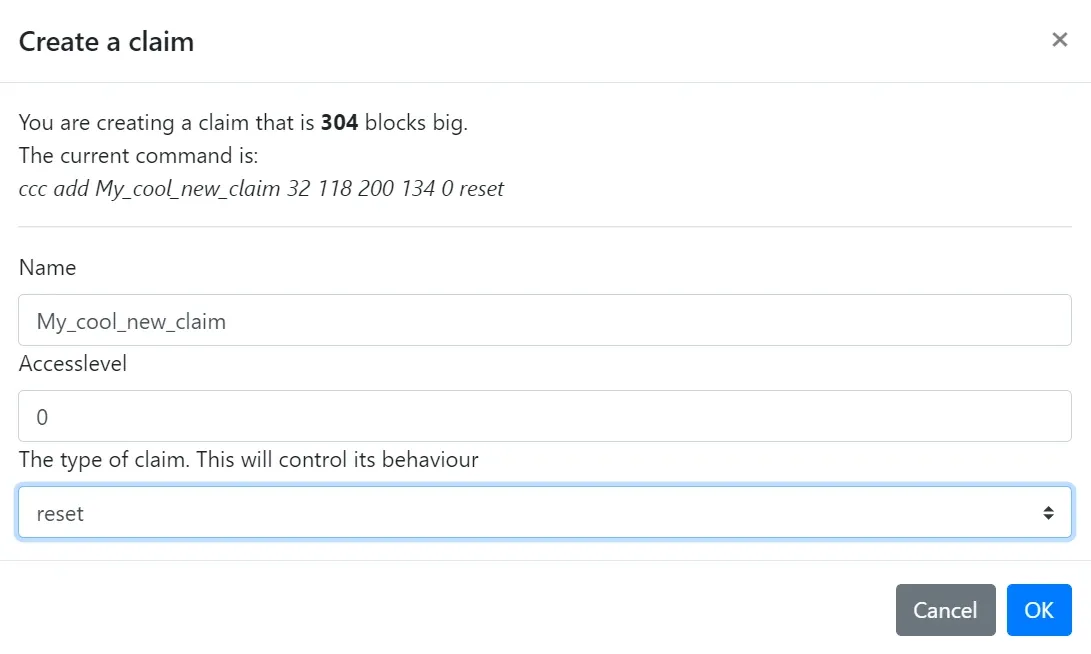
Now all you have to do is give your claim a unique name and assign an accesslevel. Then select the type of advanced claim in the dropdown menu. Each type of claim will show you a brief explenation and offers you the possibility to configure all claim parameters (if present).
For my hostilefree advanced claim it looks like this:
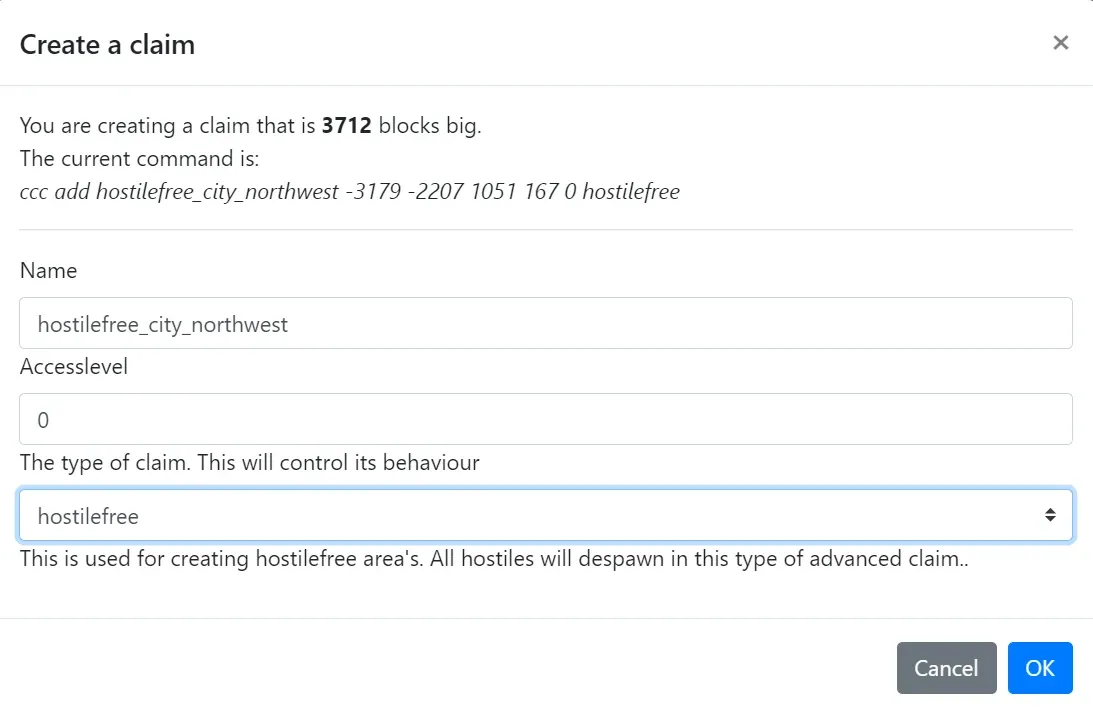
You can repeat above steps to create more and different types of advanced claims.
The “Commands” button in navigation menu will show you the number of commands that are awaiting execution (claim creation). In my example that number is 1 as i created only 1 advanced claim.

Click “Commands”
An overwiew of commands to be executed is presented:
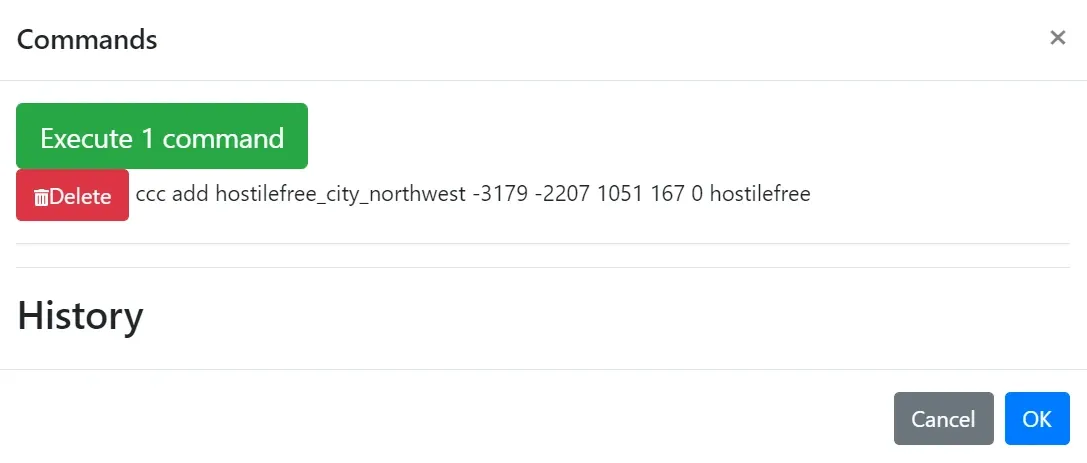
You can review your commands and if all is well, click the green “Execute x commands” button. All claims in the list will be created and are immediately visible on ClaimCreator and Allocs Webmap.
Creating Reset Regions
Section titled “Creating Reset Regions”Make sure you have selected “Select region” in the bottom right selection area.
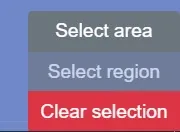
Now you can select regions (make the grid visible via floating menu -> Regions) by just clicking on them.
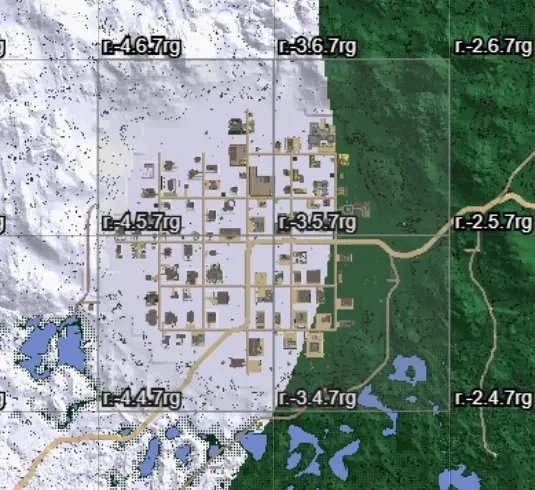
You can select as many as you like and when you are done just do the same steps as above when creating an advanced claim.
Those steps are:
Click “Claims” in navigation menu -> Click “Create” -> Click “Commands” in navigation menu -> Click “Execute x commands”
All your reset regions have been created and are active immediately including enter/exit notification and automatic landclaim removal.
Overview of all advanced claims and parameters
Section titled “Overview of all advanced claims and parameters”hostilefree:
Section titled “hostilefree:”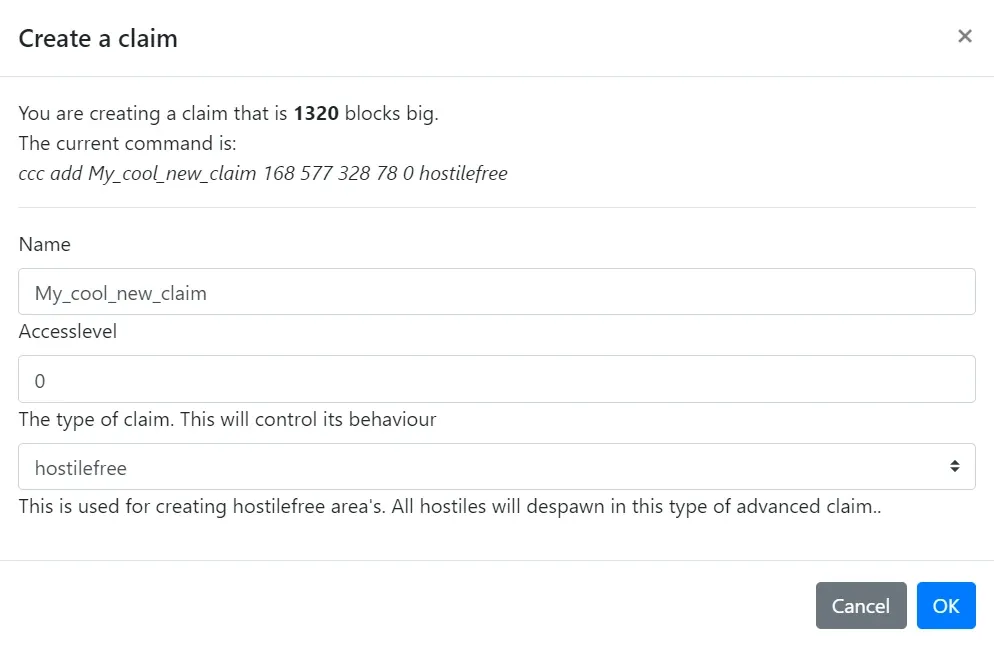
notify:
Section titled “notify:”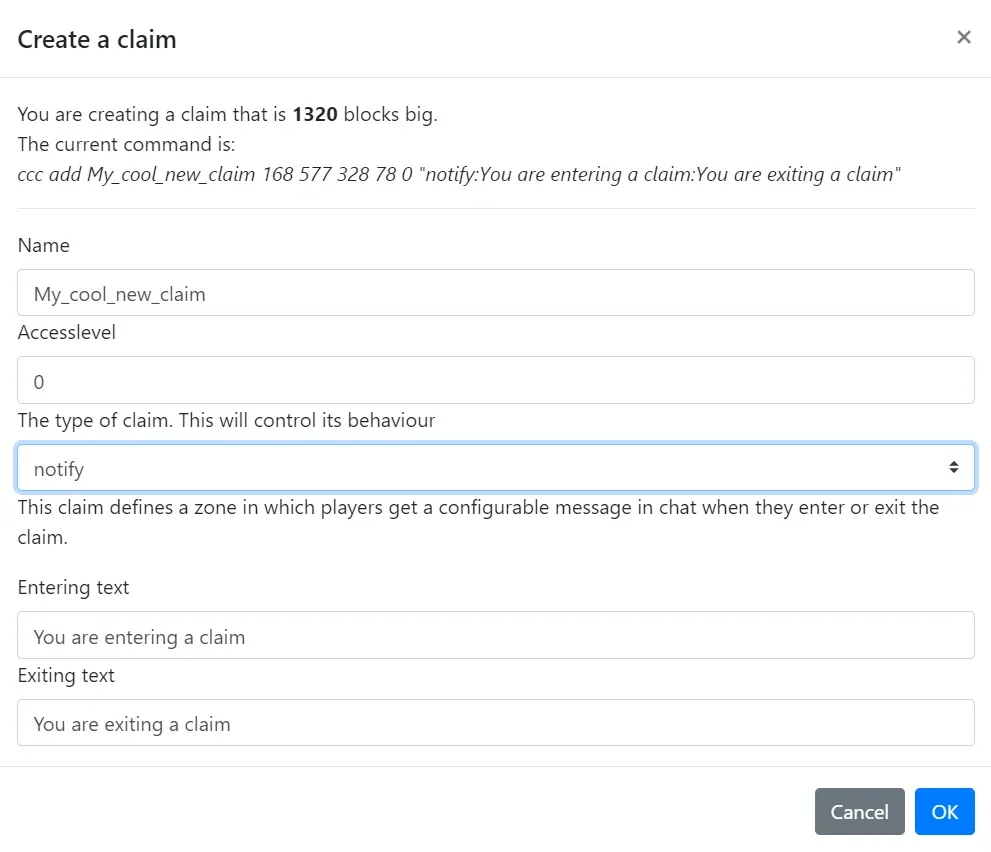
command:
Section titled “command:”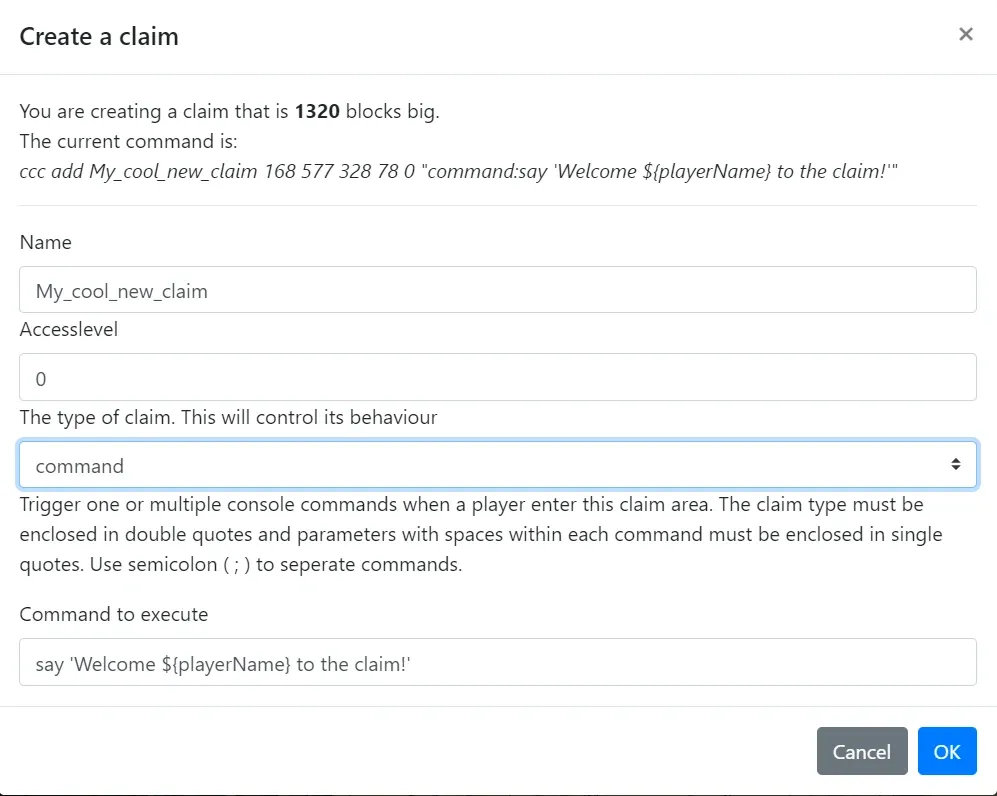
leveled:
Section titled “leveled:”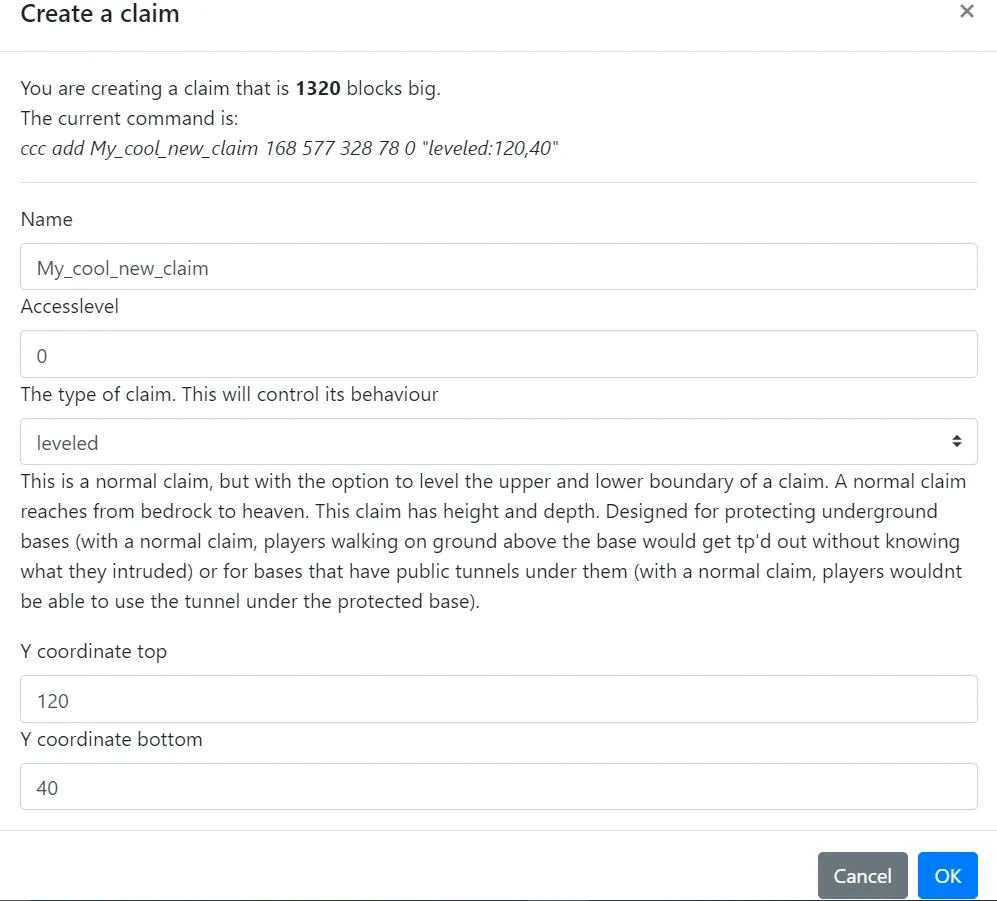
reversed:
Section titled “reversed:”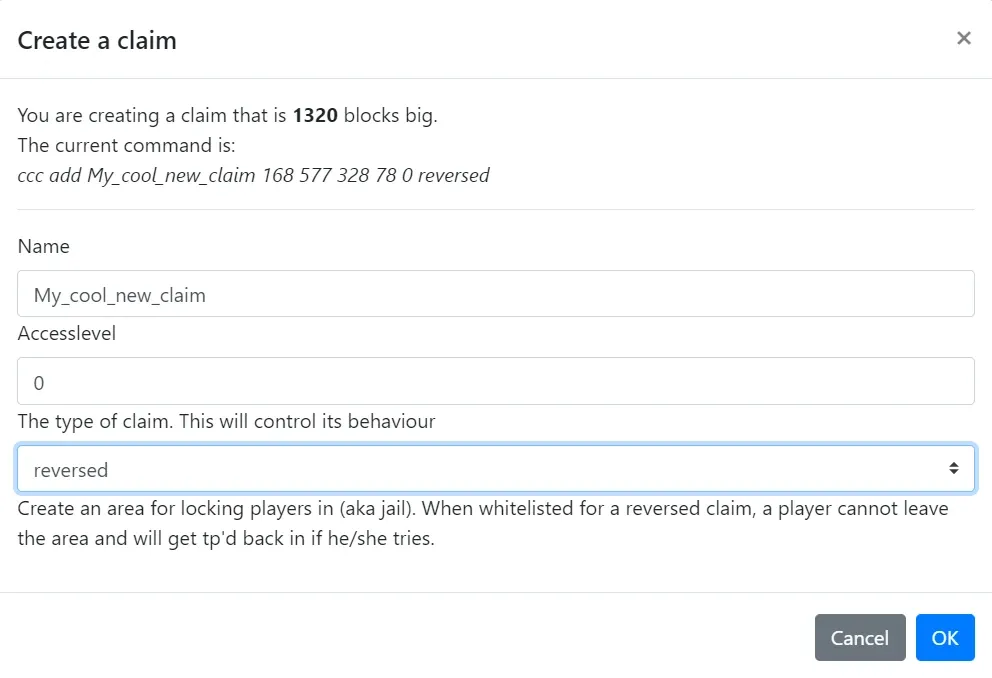
normal:
Section titled “normal:”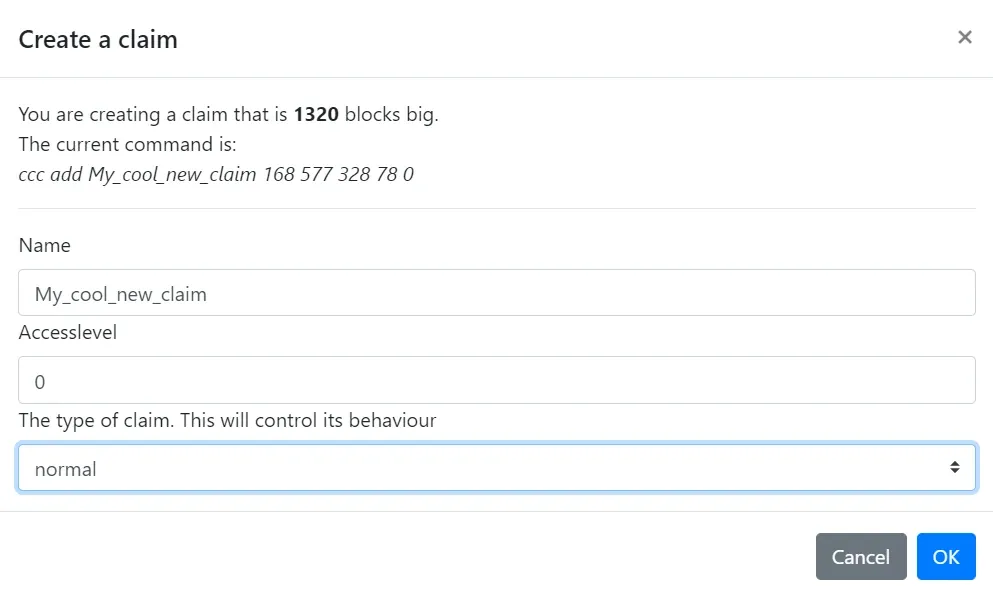
timed:
Section titled “timed:”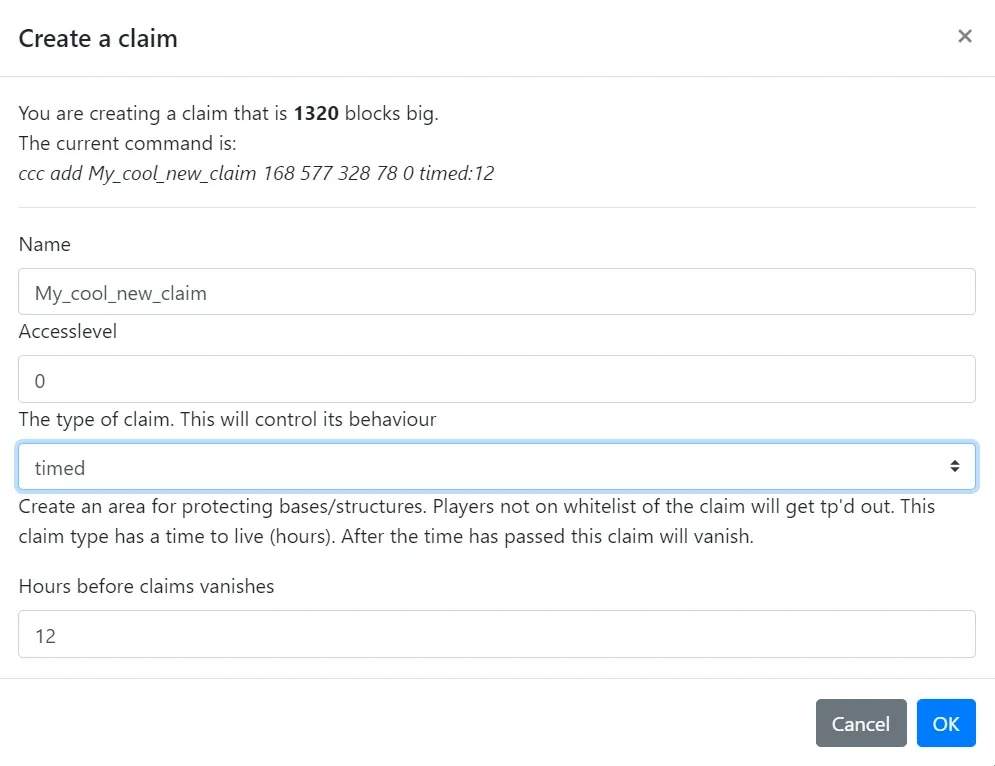
portal:
Section titled “portal:”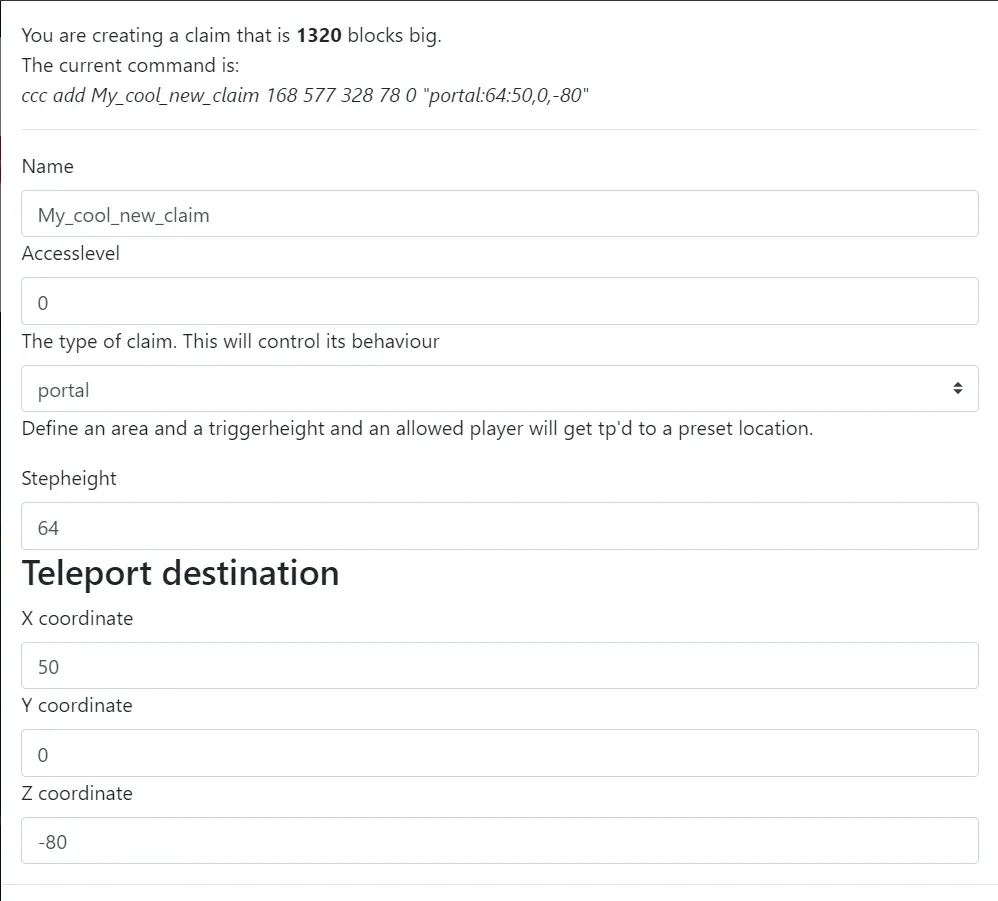
openhours:
Section titled “openhours:”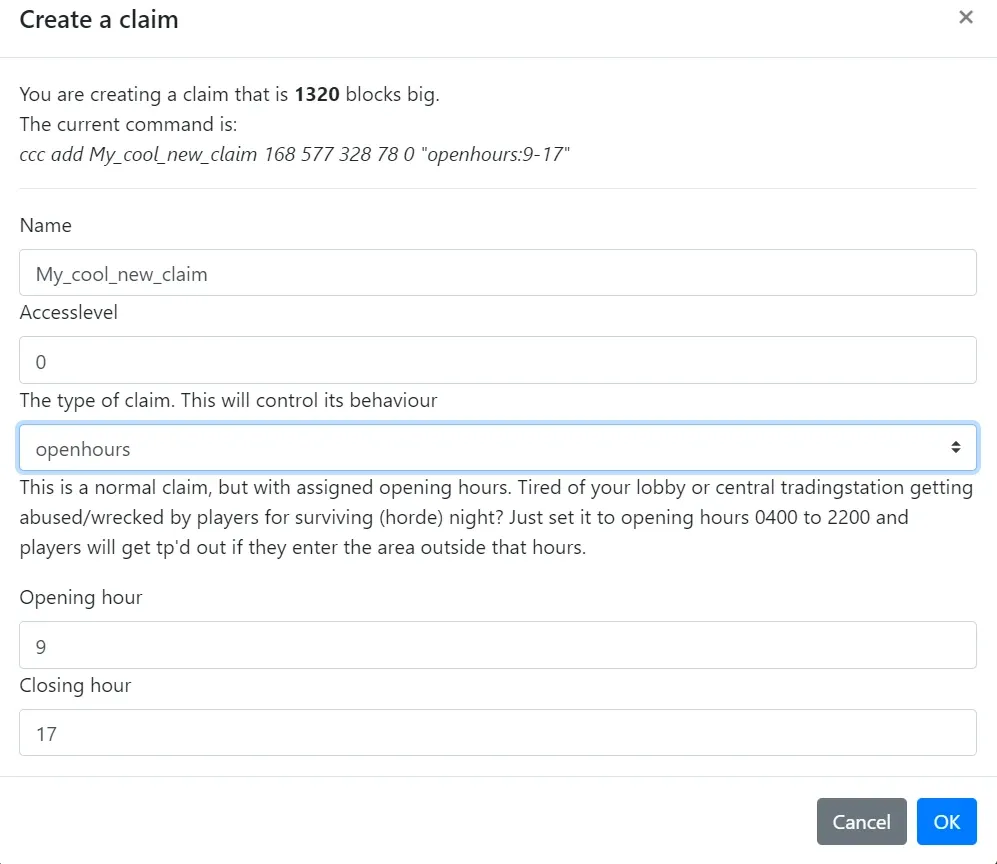
playerlevel:
Section titled “playerlevel:”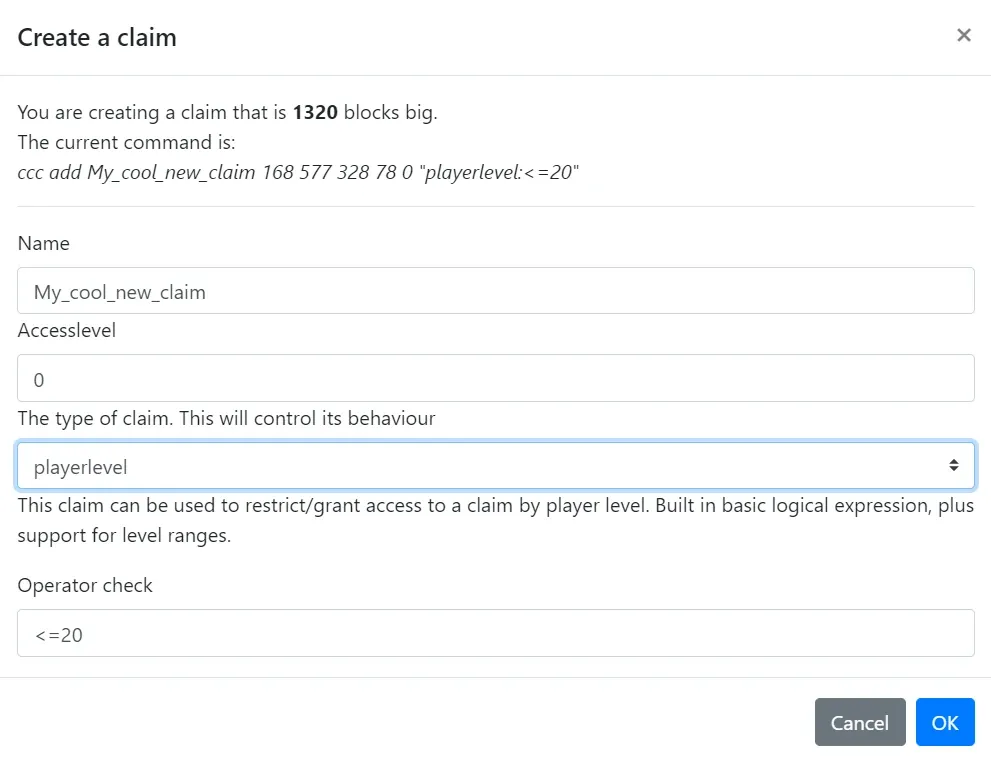
lcbfree:
Section titled “lcbfree:”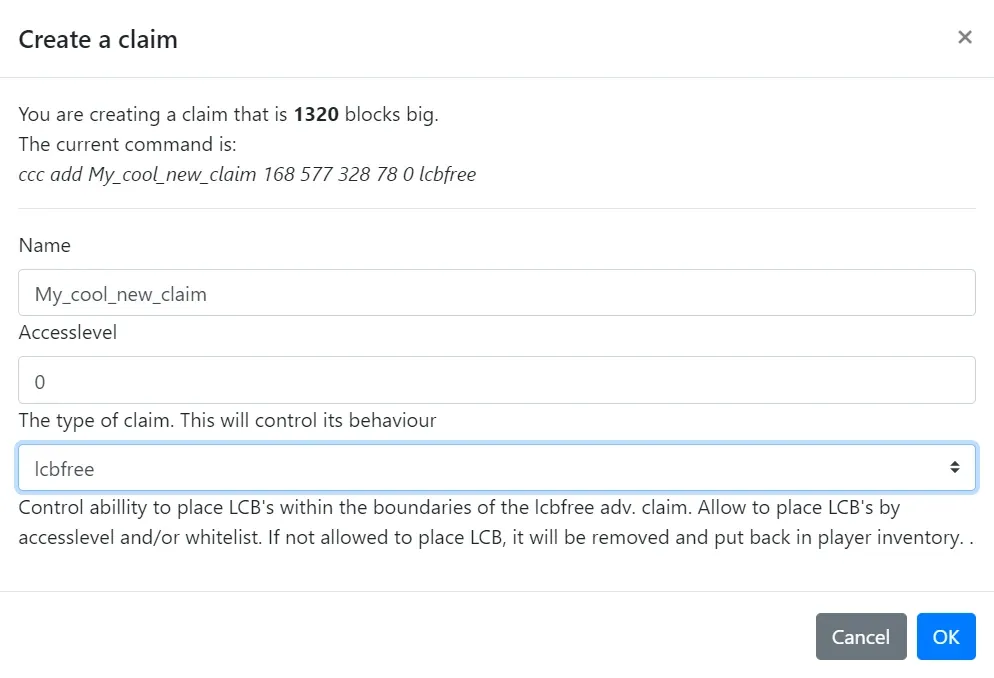
antiblock:
Section titled “antiblock:”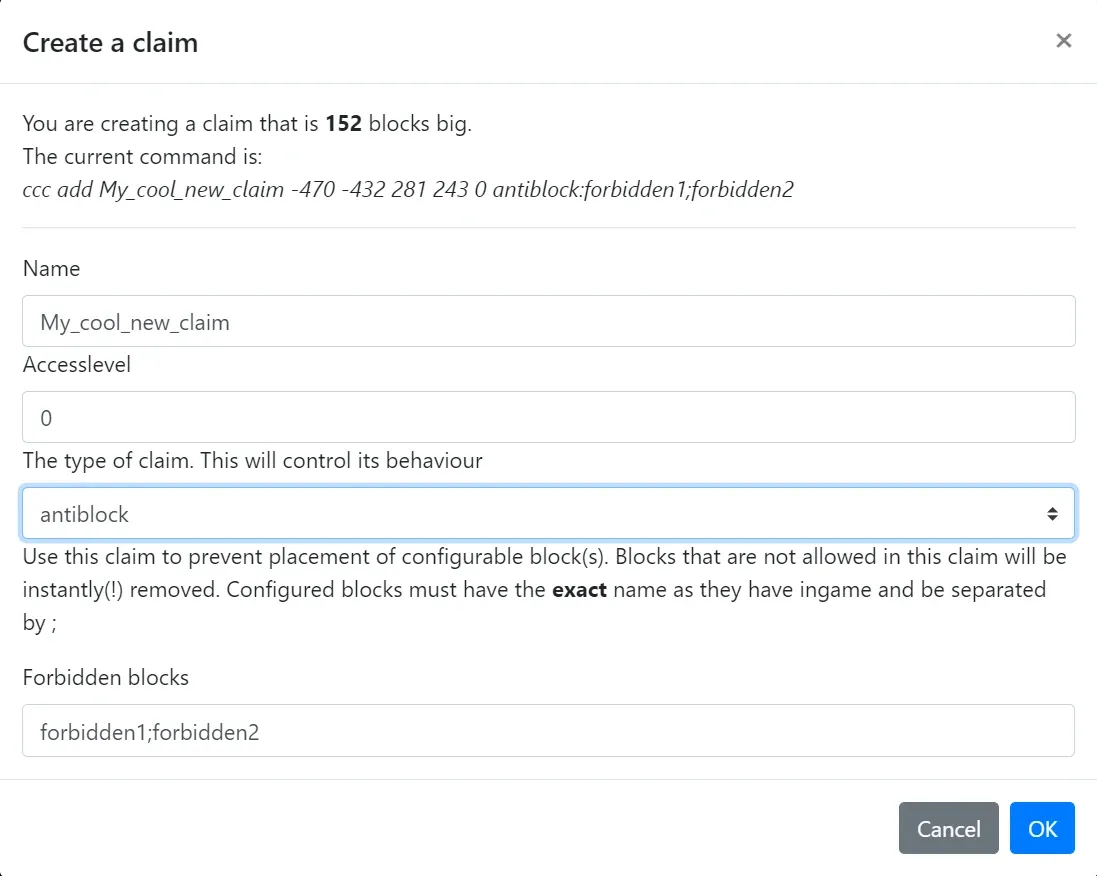
reset:
Section titled “reset:”